Showing posts with label barbecue. Show all posts

Wednesday, 27 May 2015

Barbecued Mackerel with Ginger, Chilli and Lime and Grilled Asparagus

Barbecued Mackerel with Asparagus

After not having enough Asparagus last year, I have maybe gone out of my way to ensure I get some every weekend this season.  But I also really wanted to utilise my barbecue on another semi-fine day, so decided to try and do some mackerel.  So far, the only time I've cooked fish on my Weber is either in a paella, or using fillets on a cedar plank, but this time, I wanted to try and do a whole fish, straight on the grill, using direct cooking.  I'm far more comfortable with more slow cooked barbecue stuff, although using my phone for a count-down timer, I've got better at not overcooking things that just need minutes and seconds, or at least need to be checked every couple of minutes.

I'm not sure I've ever cooked a whole fish before, be it on the barbecue or anywhere else.  I normally get my fish filleted, or when I have cooked something with bones in, it hasn't been the entire fish.  But, having read up on a number of mackerel recipes done straight on the grill, I thought it was about time I gave it a try, especially as it's cheap enough that if I messed it up first time around, I could easily go out of buy a couple more to try again.

A number of places talk about having your grill squeaky clean to do this.  I'm guessing this is for people that don't use their grill much.  Personally, I clean my grill by getting some hot coals under it, closing the lid for 15 minutes or so, then giving it a good brushing with a decent, wire grill brush.  I'm sure a perfectly new, squeaky clean grill will work really well, but it doesn't have the character of one that shows real use.  It's like woks.  The blacker the wok, the better the chef.  But like also like woks, just because it's black, it doesn't mean it should have large amounts of grease, and leftover foodstuff hanging to it.

This recipe was good for two Whole Mackerel, a really good value, but nice meal for two.

Recipe for the Marinade

  • 3-4 tablespoons Olive Oil
  • 1 Lime (zest and juice)
  • 1 Red Chilli (finely chopped)
  • 1 thumb of Ginger (finely chopped or grated)
  • 1-2 cloves of Garlic (crushed)
  • 2 teaspoons of Honey
  • 1 tablespoon Fish Sauce

Recipe for the Grilled Asparagus

  • 12 or so big, thick pieces of local Asparagus (if it's too thin, it will cook too quickly on the grill)
  • 1 tablespoon of Olive Oil
  • Salt and Fresh Ground Black Pepper

Mix all the marinade ingredients together.  Adjust amount of lime, honey and fish sauce to taste.  If too salty, add a little more lime juice.  If too sour, add a little more honey.  Balance to taste.  Maybe add some finely chopped Fresh Parsley too.

Make 6 deep slits on both sides of the Mackerel with a sharp knife.  Massage the marinade all over the fish, into the slits and the body cavity.  Wrap them in cling film, and keep in the fridge for 20 minutes or so while you get your barbecue going.  Keep any remaining marinade to drizzle over the Mackerel after grilling.

Cut away any woody bit at the end of the Asparagus.  If it's in season, fresh and local, there shouldn't be much to cut away at the base.  Rub in Olive Oil, then season with Salt and Fresh Ground Black Pepper.  Keep aside to grill towards the end of the Mackerel cooking, or while the Mackerel is resting.  

Get your barbecue (grill) ready for moderate direct cooking.  Depending on your lighting method, this could take about 40-45 minutes to get the coals to their optimum.  Ensure your grill is as clean as possible.  A lidded barbecue (such as a Weber kettle barbecue) helps to ensure coals don’t flame up too much as the marinade and oil drips from the fish.

Place the fish on the grill for 5-6 minutes per side, only moving when turning over.  When done, the eyes should look milky and the middle of the fish should be warm (about 52-55°C near the spine with an instant read thermometer, or fairly warm, but not burning to the touch). Leave to rest for 2-3 minutes.

While the fish is resting, grill the Asparagus, turning fairly frequently.  Again, use the lid to calm any flames from small amounts of Olive Oil dripping on the coals.

Serve the Mackerel with the Asparagus, drizzling any remaining marinade over the fish.


Tuesday, 1 July 2014

Packer Cut Brisket, Low and Slow


I've done a few briskets on the barbecue the last year or so, but being in the UK, the brisket cut we get isn't the same as the one we see of all these US based pit-masters smoking.  When I get a brisket from my local Irish butcher, it generally comes with bones (which are useful for stock), and is a totally different shape to those I see on US barbecue websites.  A quick scout for the wikipedia entry on brisket shows why.

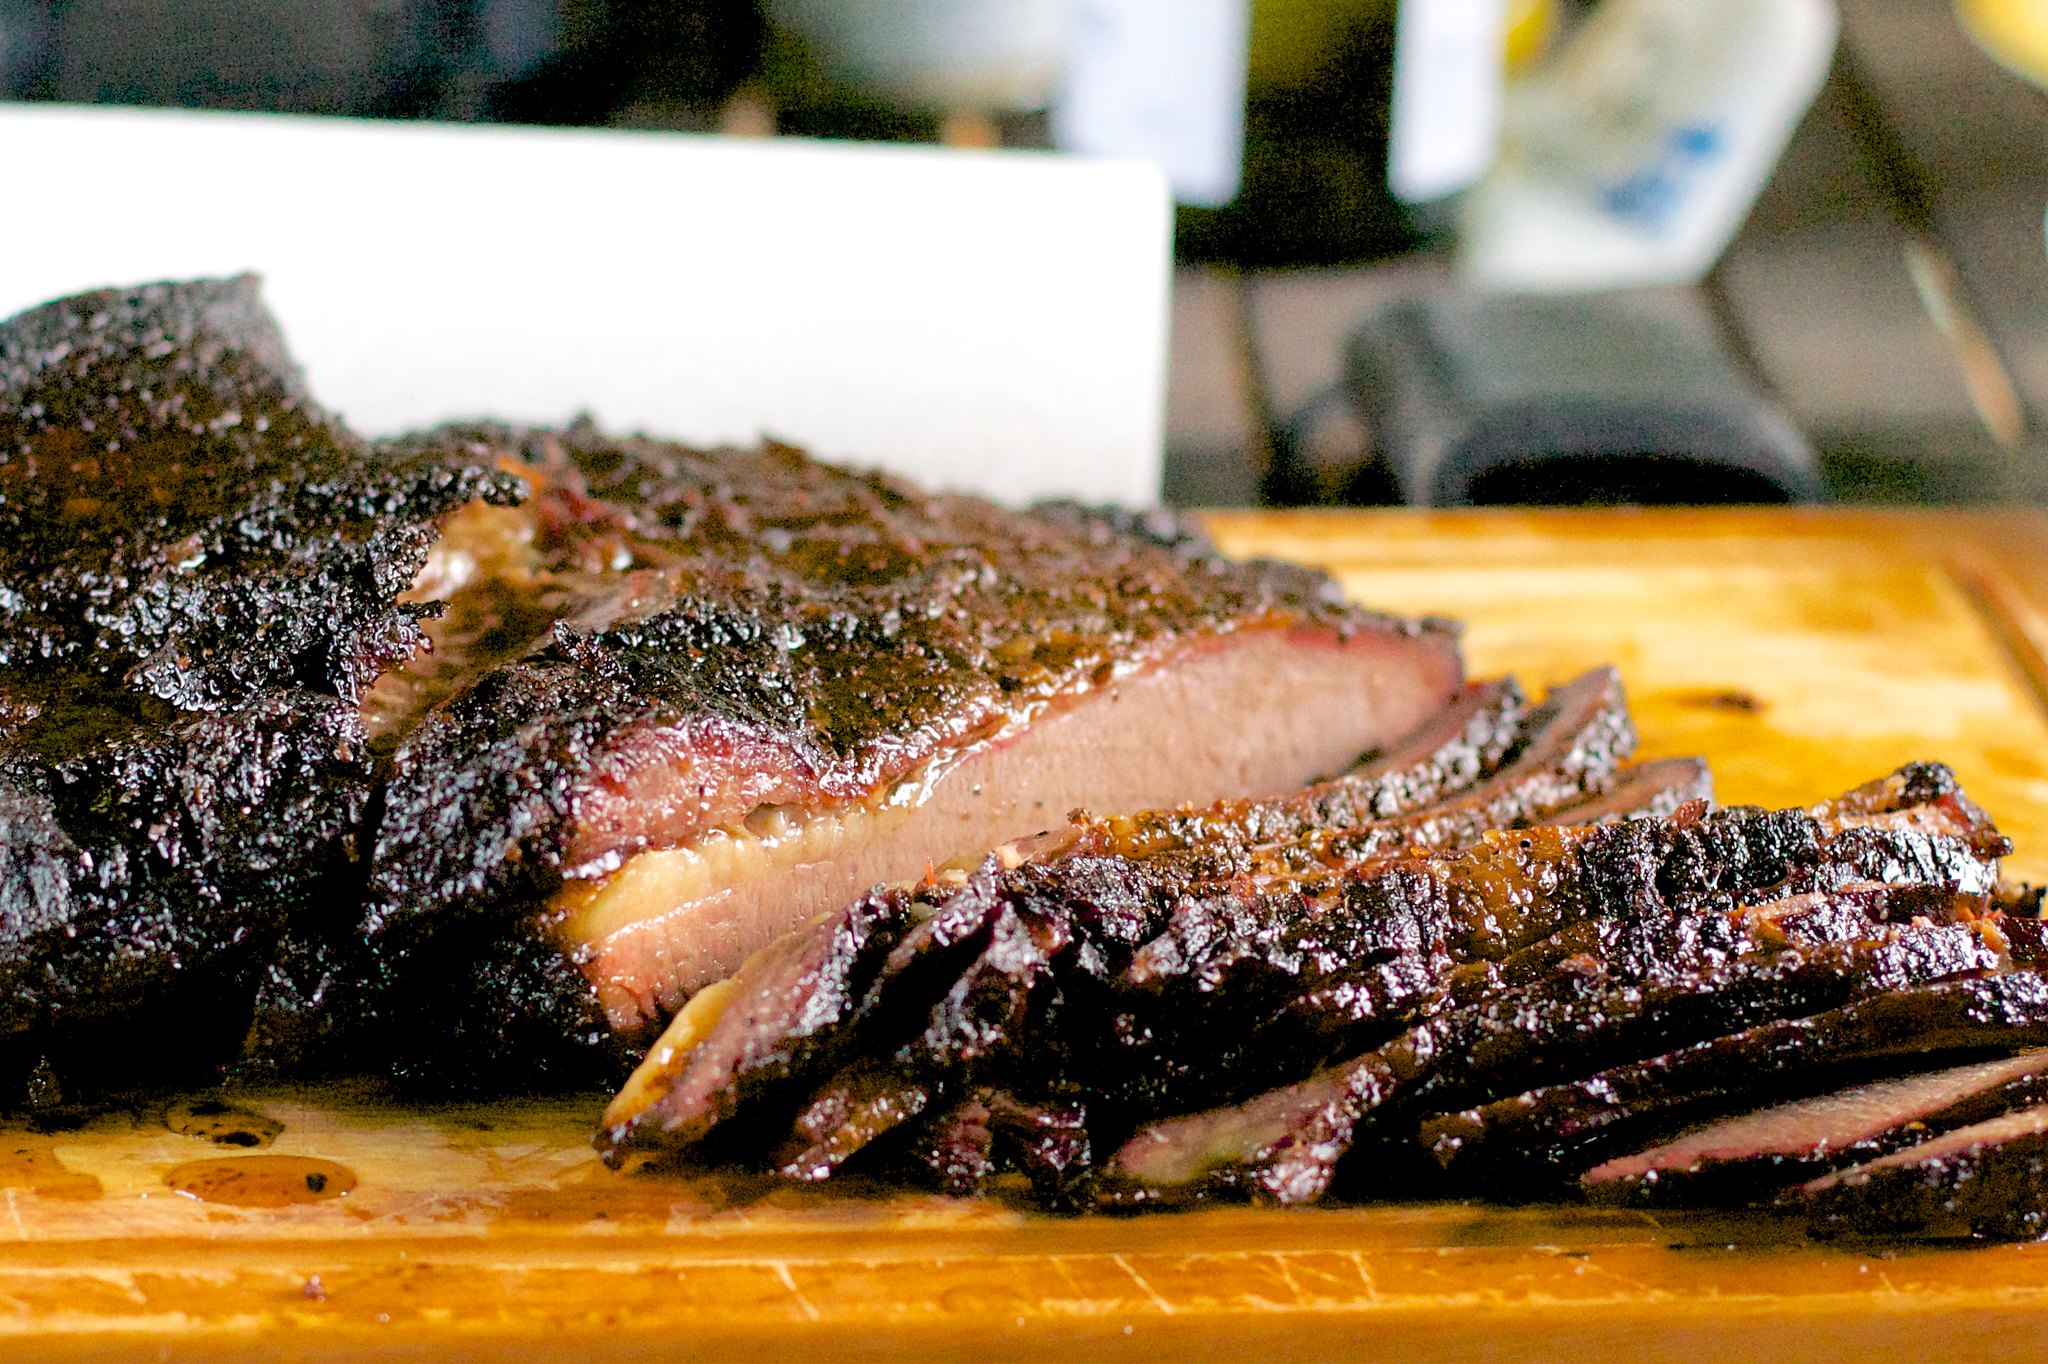
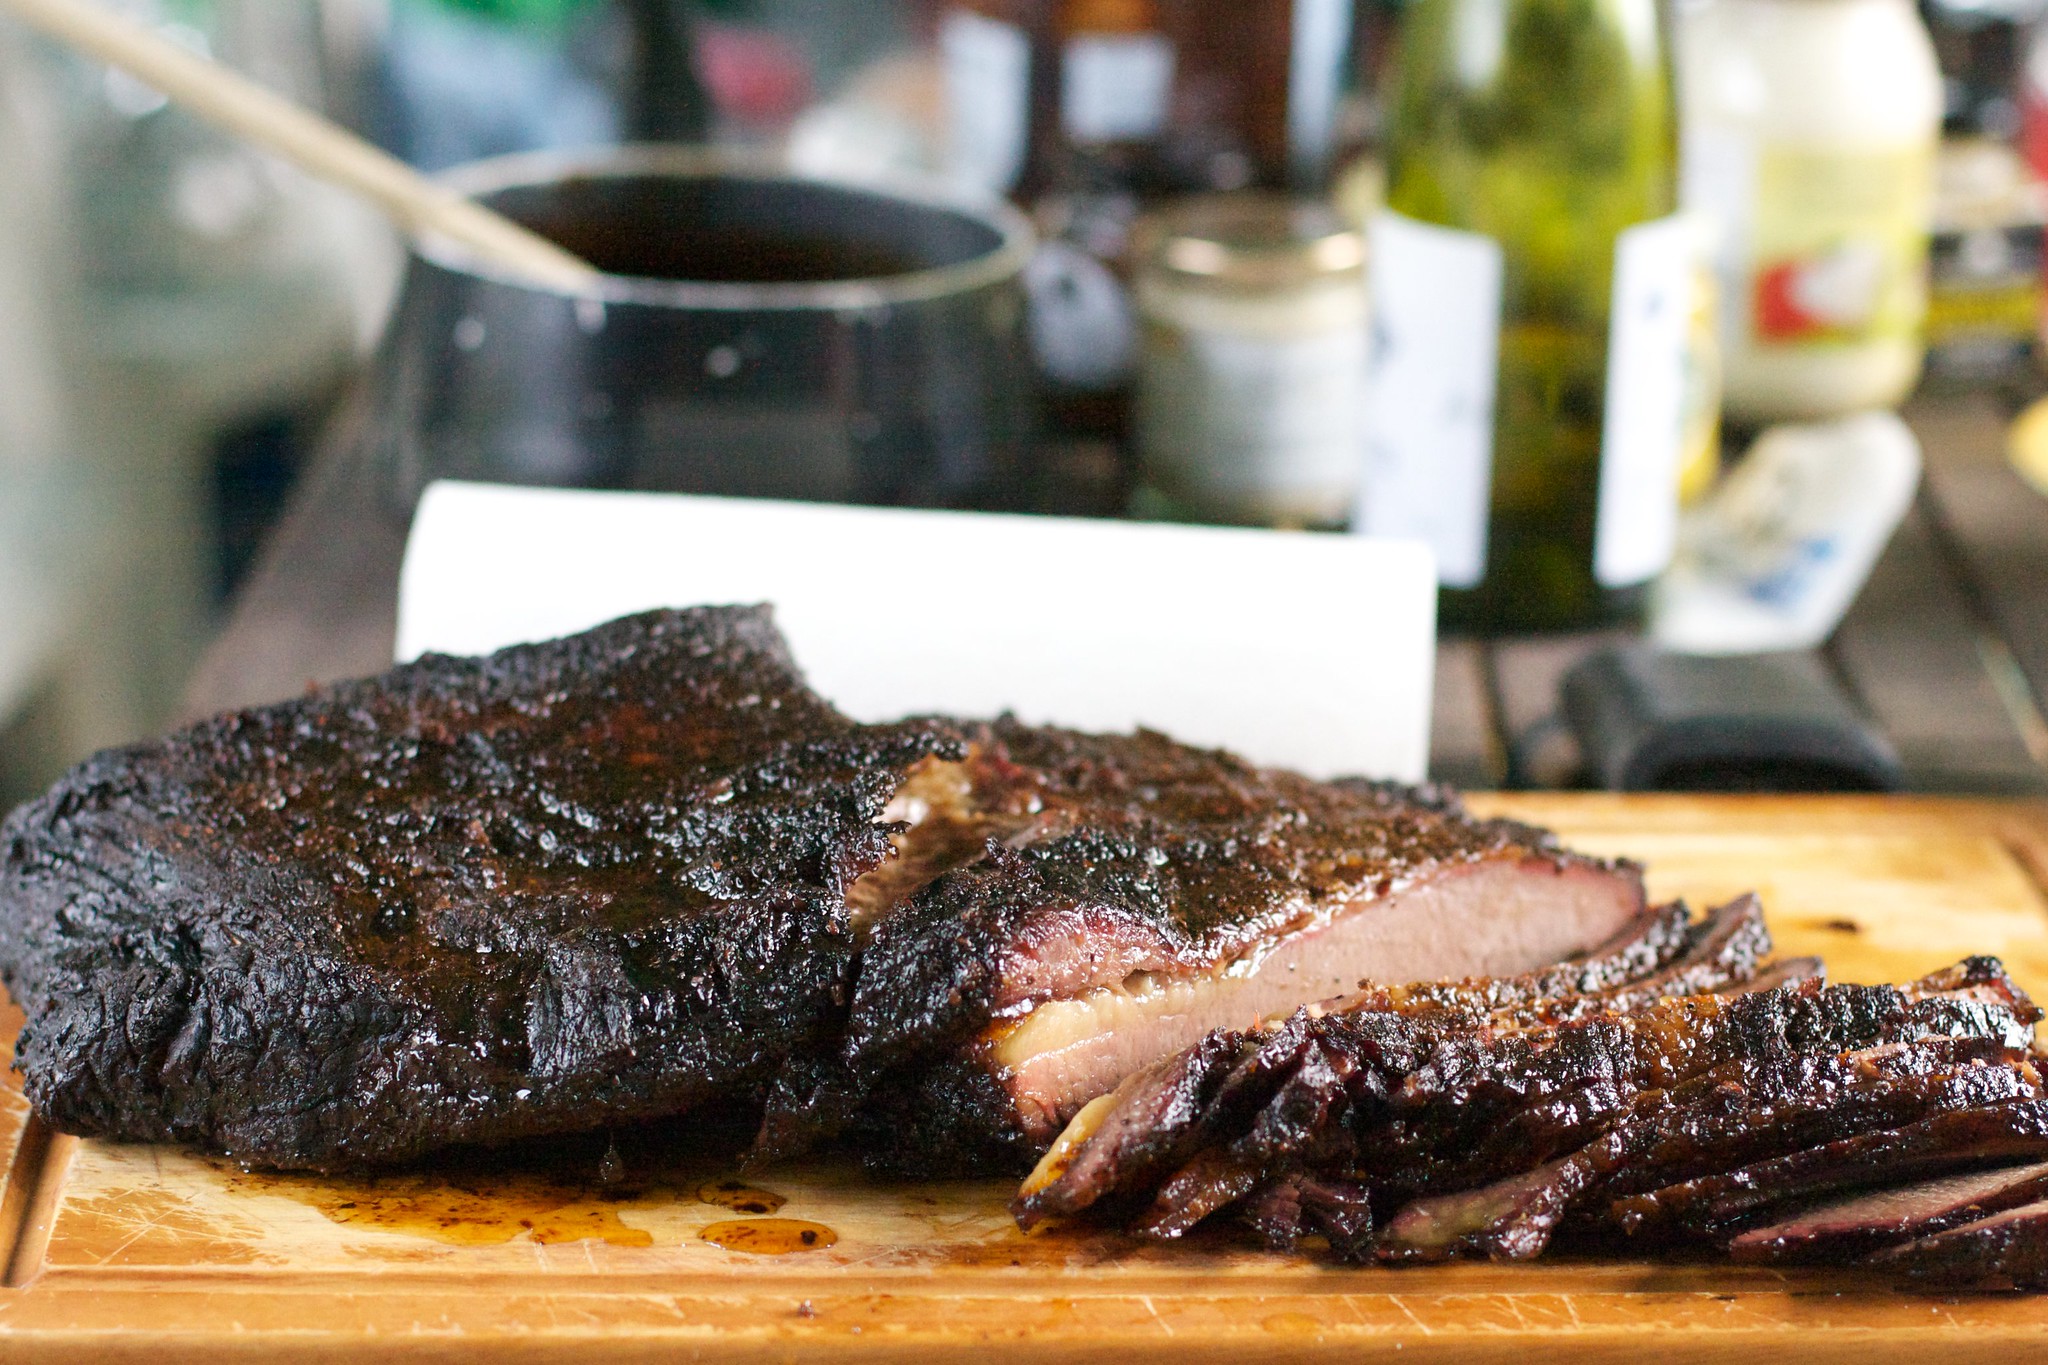
However, there is at least one butcher in London that will sell a really nice quality Packer Cut Brisket, and for this particular barbecue, I went to Turner & George.  The 6.425kg hunk of beef that arrived early Friday morning was something to behold.


The photos just don't do it justice (plus I should've also taken a few shots of the other side).  A lovely, properly aged, piece of brisket, just needing trimming and rubbing, leaving for about 12 hours,  and then putting onto the Weber, for another 12 or so hours.  I thought about injecting Veal Stock into it, but once I realised that I'd run out of stock anyway, I decided to just to let the meat speak for itself.

Rub Recipe


  • 50g Maldon Sea Salt
  • 25g Light Muscavado Sugar
  • 15g Black Pepper
  • 10g Whole Chipotle
  • 5g Smoked Paprika
  • 5g English Mustard Powder

Put into a spice blender and blend until powdered.

Smoked Brisket Recipe (Serves 8-12)


  • 1 Packer Cut Brisket (around 6kg)
  • 1 Portion of Rub
  • 2 Tablespoons of Light Rapeseed Oil
  • Long-Lasting Charcoal Briquettes
  • Mesquite Chunks
  • Remote Thermometer
  • Kettle Barbecue or other Smoker


Trim your brisket to get rid of some of the excess fat.  There are many videos on Youtube showing how to do this.  Depending on where you get yours from, there may be more or less to trim off.  If it's not an aged piece of brisket, probably leave more fat on, to help maintain moisture.  Once trimmed, rub the meat in the Light Rapeseed Oil, and apply the rub liberally all over the meat.  Wrap the meat in cling film and leave in the fridge for a few hours at least.  Remove the meat from the fridge an hour or two before you intend to start smoking.

If you're using a Kettle Barbecue, try arranging your coals using the "Snake Method", with chunks of Mesquite lined side by side on top of the unlit coals to last for the first 5-6 hours of cooking (half a dozen fist sized pieces perhaps).  Put a drip tray filled will water under where the meat will be, and another above the hot coals.  I've used this a couple of times now with great results.  However, if using a remote thermometer, position the grill thermometer to get an accurate reading can be tricky.  I think I just need to mount it near the one on the lid of the barbecue.  Having the remote thermometer probe permanently in the meat does help in not prodding too many holes in it and losing precious moisture.

Get the barbecue/smoker going at 110°C (around 225°F) and put on the brisket, close the lid, and keep and eye on your temperatures.  You need to maintain the same temperature for about 12 hours.  Unless you see the barbecue is not smoking when you think it should be, or the temperature gauges have gone way high or low, then you shouldn't be tempted to open it at all.

As many websites will say, once the temperature of the thickest part of the meat reaches 70°C, the heating will 'stall', literally for hours as some of the moisture evaporates.  Depending on the age of your beef, etc., at this point, you might want to wrap the brisket in two layers of foil and return to the grill/smoker.  With a properly aged piece of beef, or a well regulated smoker, than might not be necessarily, but if you're short of time, and don't mind not having a great bark, then wrap away.  Also, if you have issues towards then end of your smoke and the meat loses temperature, wrapping with foil can help out to get it up to the 84-88°C you want before you take it off the heat.

Once the meat gets to between 84-88°C, if it's not already wrapped in foil, wrap it in at least 2 layers of reasonably heavy foil, then wrap a couple of towels around that, and leave it for at least an hour (I normally leave it two).  Then unwrap it, lift it out of the foil onto a chopping board, and pour the juices out of the foil, either into your pre-prepared barbecue sauce, into a separate jug, or just straight back over the meat.  Depending on the result, sauce may not be necessary.

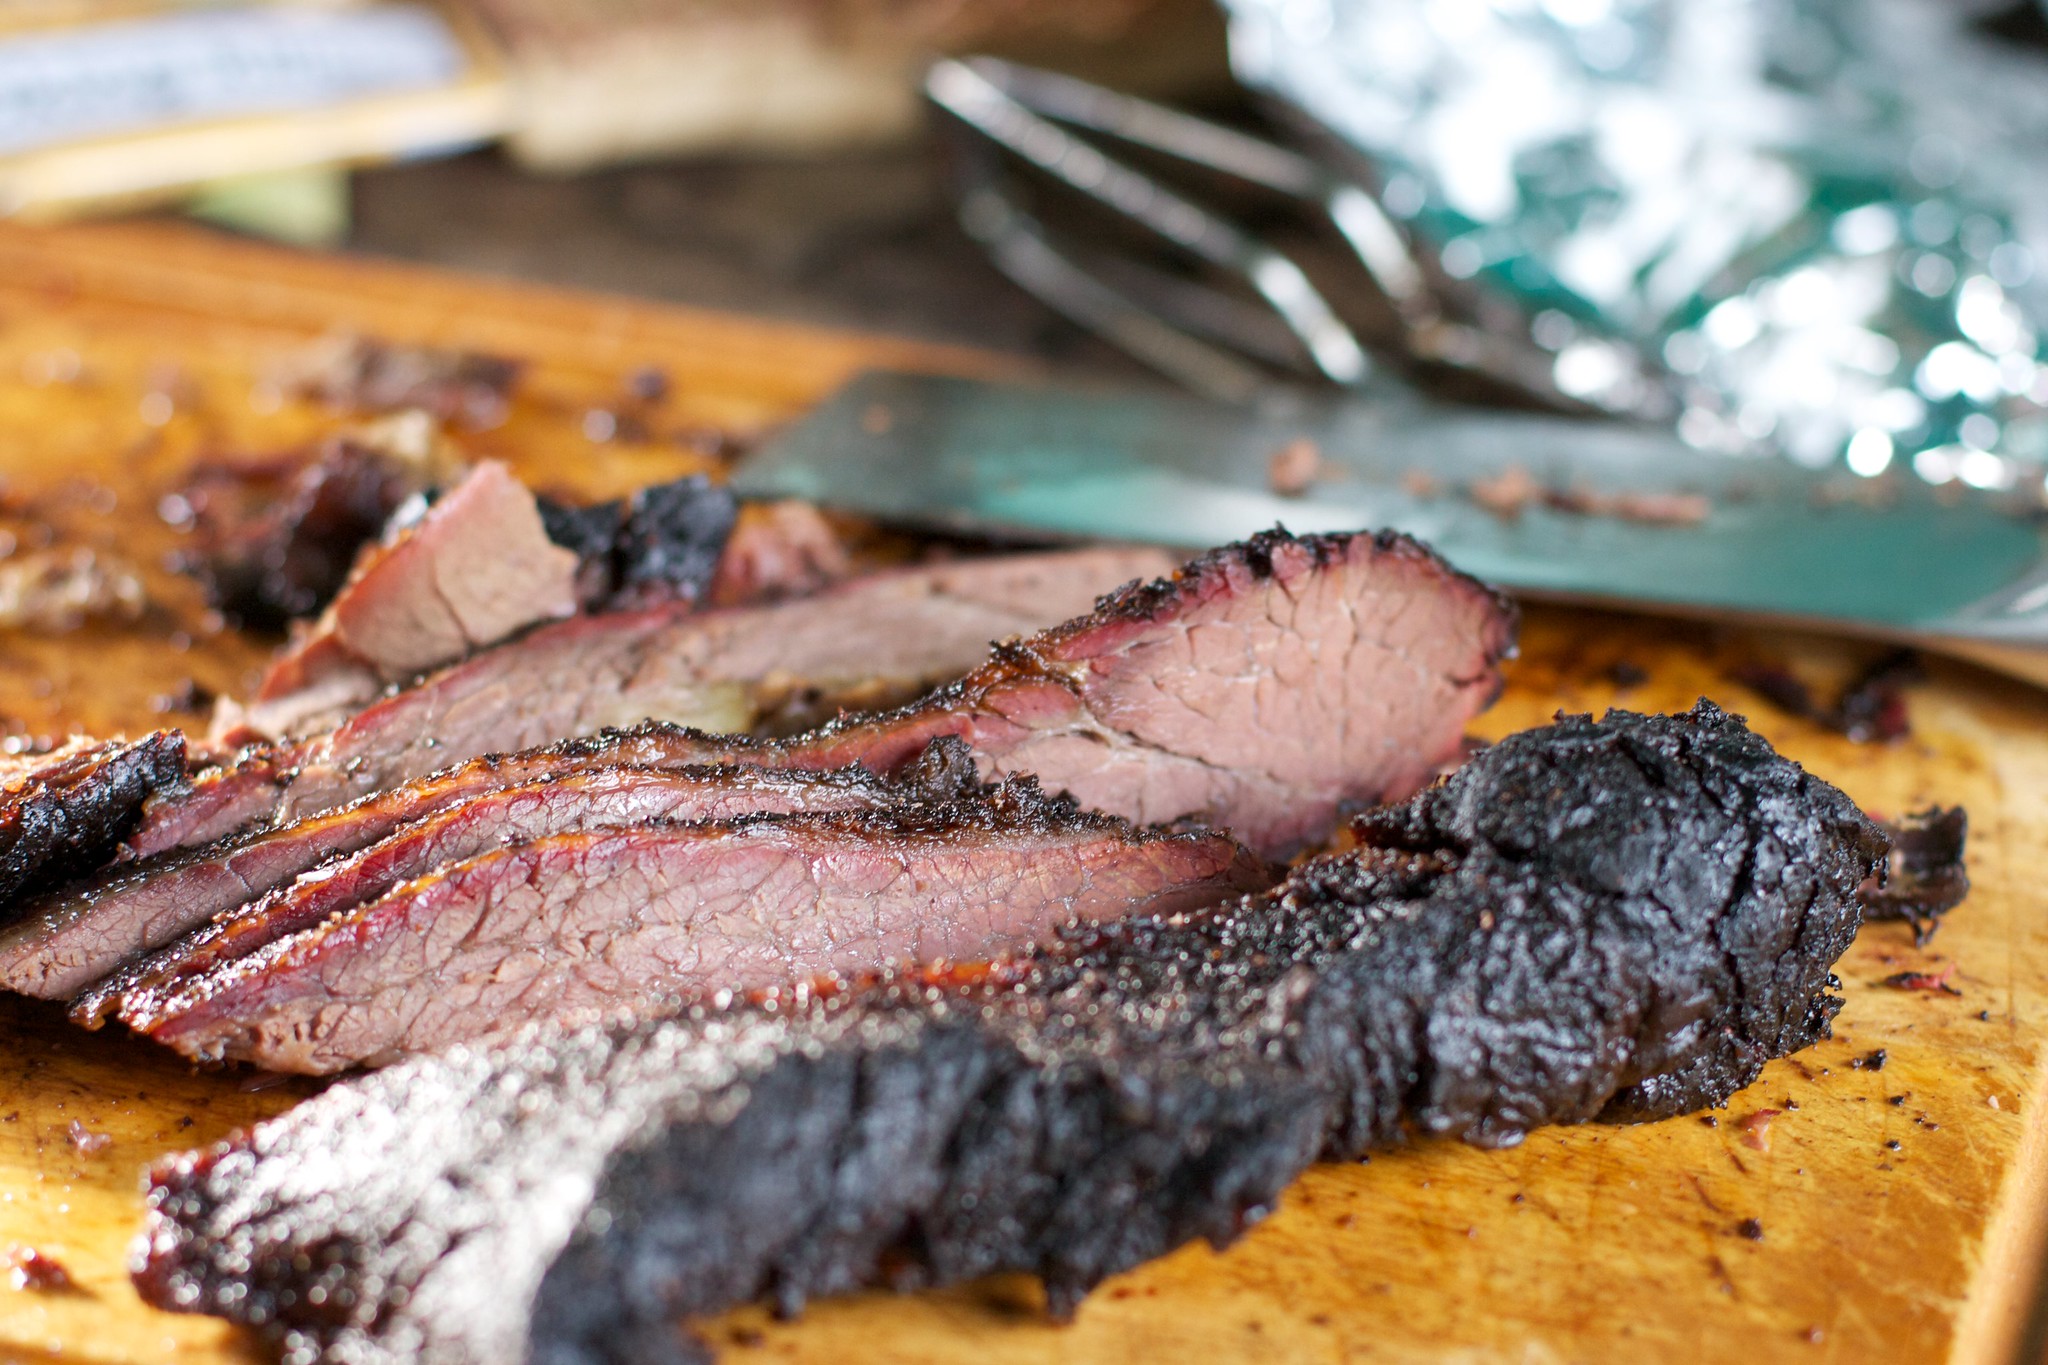
The two pieces of meat in the packet cut should separate easily at this point, so pull them apart so that you can carve them separately.  If it's not immediately obvious which way the grain is in the meat, cut off a corner to see, then carve the whole thing into slice that will stay mostly together, but will almost melt in the mouth when eaten.

I understand why people have electric smokers now, but still, it's nice to get at one with your coals and grill.


And within about 10 minutes...


Sunday, 12 August 2007

Paella 2.0, on a Barbecue, in Warlingham


Anna and Jose gave a slightly rough review of my last attempt to make Paella. The main problems they highlighted were that I'd used chicken drumsticks rather than wings, the prawns were not in their shells, nor the mussels, that the rice wasn't yellow enough and I had no lemon as garnish. I think the lack of yellowness might just have been my camera performing badly with the colour with the poor lighting, but even so, I got the saffron as ordered, and made Paella 2.0 using that instead of turmeric.

I'm cat-sitting Nutmeg for my parents over the next couple of weeks, and they have pretty decent (although filthy) barbecue with adjustable grill height, so I decided to try and make it on that. I'd brought my Paella with me, knowing that my sister would be a willing taster, that cooking facilities and that better local shops would help with the endeavor. There was also the added bonus of getting my sister to do all the food photography with her decent camera. Although, saying that, she did manage to drain her battery taking pictures of Nutmeg, then have to bolt back home for the spare so that she could take pictures of the finished food.


The recipe was pretty much the same as before, except that I used Dwarf Beans instead of Fine Beans, a good pinch of crushed saffron instead of turmeric, and chicken wings, instead of legs (as per Anna and Joses' instructions), plus prawns and mussels in their shells. Also, I used about 50% more rice this time as I was fairly certain it wasn't enough last time.

Recipe for Paella 2.0

  • 5 Whole Chicken Wings, cut in their 2 halves
    2 Pork Ribs, cut into bit size pieces
  • 1 clove Garlic
  • 4-5 tablespoons Olive Oil
  • 1 large Red Pepper, cut into 6 strips
  • 1.5 cups Dwarf Beans
  • 2 medium Fresh Tomatoes
  • 1.5 cups Paella Rice
  • 4.5 cups Boiling Water
  • A pinch of Saffron (enough, when crushed, to turn the water yellow)
  • 1 teaspoon Smoked Spanish Paprika
  • 1 can of Chickpeas
  • 1 teaspoon Salt
  • Lots of Prawns in their Shells (could have been bigger in our case)
  • Lots of Mussels in their Shells
  • A Lemon
The method was exactly as before, only done on a barbecue instead of the stove. The Mussels were cooked briefly in White Wine before adding to the top of the Paella in the last few minutes of cooking. The other difference is that I didn't use any stock as I seemed to end up with a better stock in the pan this time around, so just added the Saffron and Paprika to the boiling water (3 times that of the rice). I also remembered to add the Chickpeas as I had them washed and drained and out with the rest of my ingredients before I started to make sure nothing was forgotten.

My sister's hectic schedule for the day meant that I didn't get started on cooking until there was no real sunlight left in the garden and it was getting dark by the time I'd finished cooking. This was partly caused by the barbecue dying halfway through (luckily at a good moment to pause in the cooking) and us having to get it started again before getting the rice in. So, rather than a nice afternoon meal in the sunshine, it ended up as an evening meal around the dining table.

Although I pretty much followed their instructions to the letter this time, I can still almost hear the comments Jose and Anna are going to make. For one, I'm sure they are going to say that I put too many prawns and mussels on the top so that the chicken and peppers are nearly invisible. The rice was cooked to perfection though, with that slightly caramelised bottom, but without sticking to the pan. Definitely got a lot more confidence after cooking this one. I just need to get the time of day right.

Related Posts Plugin for WordPress, Blogger...